
How to Combine Different Gemstone Shapes in Jewelry
Last Updated: October 31, 2026
Quick Summary
To combine gemstone shapes in jewelry, start with one focal stone and build around it with supporting shapes of smaller size. Pair shapes by visual weight, keep stones within about 25% of each other's size, and limit a piece to two or three shape types so the design looks intentional.
Pick one focal stone and give it clear priority over every other bead.
Keep stones within about 25% of each other's size so they look cohesive.
Pair a round with an emerald-cut, keeping the emerald-cut within 20-30% of the round's width.
Use two or three shape types per piece; three is the practical maximum.
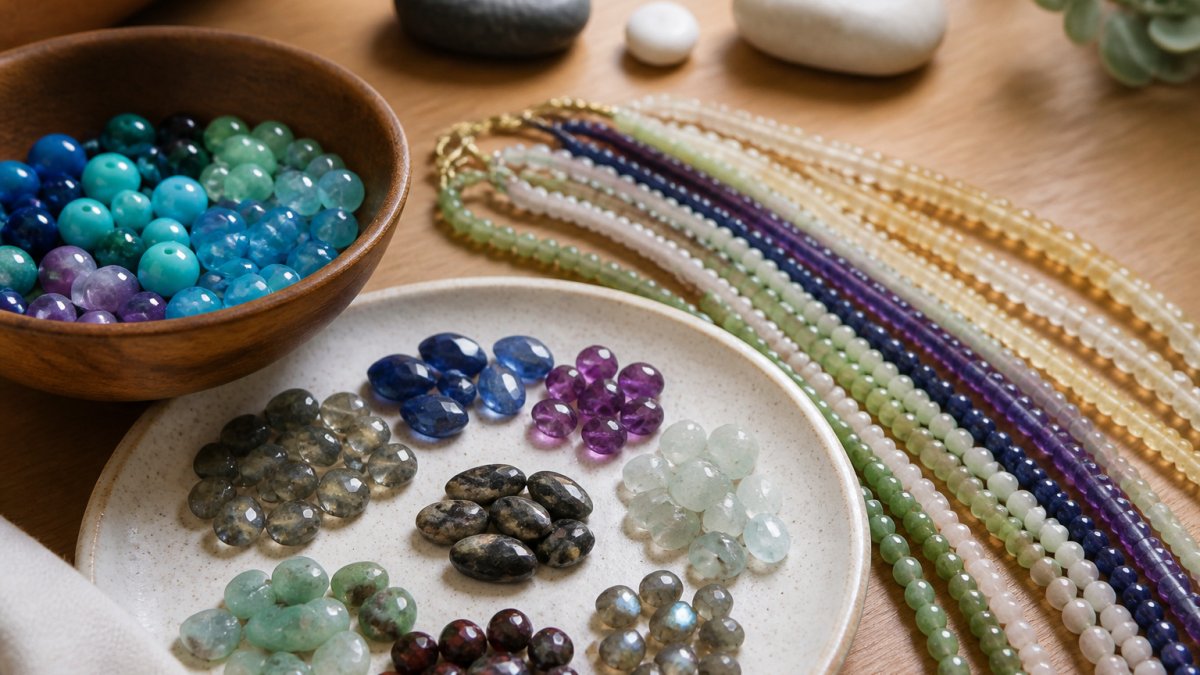
Lay out beads and photograph the arrangement to spot balance problems before wiring.
Table of Contents
Why Gemstone Shape Matters More Than You Think
Shape changes how a piece looks and feels, sometimes more than color does. A briolette catches light from every angle, a rondelle sits flat and steady, and a marquise draws the eye to its points. For a practical guide to finishing a briolette piece, see wire wrap briolette beads step by step. When you combine them well, the result looks planned and balanced. When you combine them badly, the piece looks busy and accidental.
Most guides on mixing jewelry focus on metals or layering. Few explain how to combine gemstone shapes themselves. That gap is where a practical approach helps most.
Gemstone shape describes the cut or form of a bead, such as briolette, rondelle, round, or marquise. Each shape has its own visual weight and movement, which affects how it works next to other shapes.
HietalaJewelry offers briolette, rondelle, and marquise beads in natural stones like lapis lazuli, amethyst, and sapphire. The steps below show how to pair shapes so a piece looks intentional.
Step 1: Choose a Focal Stone and Build Around It
Start with one stone that will carry the piece. This is your focal stone. Pick the shape you like most, or the one with the strongest color or sparkle.
Every other shape should support that focal point. A large briolette works well as the center of a pendant, with smaller rondelles on either side. This keeps the eye moving toward the middle instead of bouncing between equal-sized stones.
Watch out: If every stone is the same size and shape, the piece looks flat. Give one stone clear priority.
Step 2: Pair Shapes by Visual Weight and Proportion
Visual weight is how heavy a shape looks, not how much it actually weighs. A marquise or pear reads as heavier because its points and length pull the eye; a rondelle or round reads as lighter and more even. If you want to compare marquise options, see our marquise cut gemstone beads buying guide. Balancing those reads is the whole game when you combine shapes.
ArtbeadsVideos
Concrete shape pairings that work
Use these as starting points, then adjust size to taste:
Round + emerald-cut (or baguette): The round's even curve softens the step-cut's straight lines. Keep the emerald-cut within about 20-30% of the round's width so the straight edges don't overpower the curve.
Pear + oval: Both are elongated, so they share a visual rhythm. Set the pear's point facing away from the oval to avoid a "double point" that looks sharp.
Marquise + round: One tall marquise balanced by two smaller rounds on either side. The rounds absorb the marquise's points so the piece doesn't look spiky.
Briolette + rondelle: A wide rondelle under a slim briolette gives the briolette a steady base and keeps it from swinging too freely.
Two of the same shape, different sizes: A large round focal with two smaller rounds flanking it reads as intentional repetition rather than a mismatch.
The proportion rule of thumb
Stones within about 25% of each other's size usually look cohesive. Beyond that, the size jump becomes the story, so make it deliberate: either repeat the jump (large-small-large-small) or use one clear focal stone and keep every supporting stone small.
Test the balance before you wire
Lay the stones on your work mat in the order you plan to string them. Step back three feet and squint. If one shape pulls your eye first and nothing balances it on the opposite side, swap in a smaller version or add a counterweight stone. A quick phone photo helps, the camera flattens the piece and exposes balance problems your eyes forgive in person.
Pro Tip When in doubt, repeat a shape rather than introduce a third. Two shape types per piece is the safest rule; three is the practical maximum before a design starts to look busy.
The article suggests these shape pairings as starting points, which you can adjust by size.
Pairing | Why it works | Size guidance |
Round + emerald-cut (or baguette) | Round's curve softens straight lines | Emerald-cut within about 20-30% of round's width |
Pear + oval | Shared elongated rhythm | Point faces away from the oval |
Marquise + round | Rounds absorb the marquise's points | One marquise with two smaller rounds |
Briolette + rondelle | Rondelle gives a steady base | Wide rondelle under slim briolette |
Same shape, different sizes | Reads as intentional repetition | Large round flanked by two smaller rounds |
Step 3: Combine Gemstone Colors That Work Together
Shape and color work together. A mix of different shapes in one color family looks calm. A mix of shapes in strong contrasting colors looks bold.
Same color, different shapes: Good for everyday pieces and clean designs
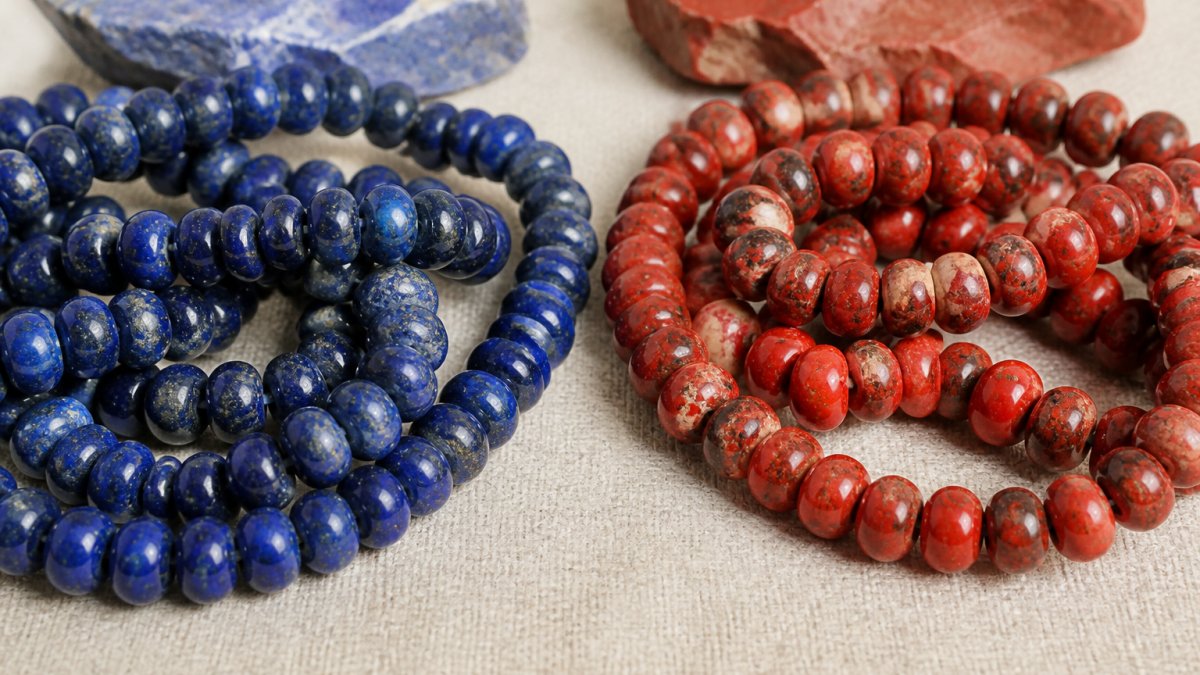
Two related colors: Such as blue lapis and blue sapphire, for depth
One accent color: A single purple amethyst among blue stones draws attention
Limit yourself to two or three main colors. More than that usually makes a piece look scattered.
Step 4: Build Mixed-Shape Necklaces and Bracelets
Necklaces and bracelets show shape pairings most clearly because they run along a line. Lay out your beads in the order you plan to wire them before you start.

A simple layout for a necklace:
Place the focal stone at the center
Add a smaller rondelle on each side
Alternate briolette and round shapes outward
Finish with the smallest beads at the clasp
For bracelets, keep the layout shorter and repeat one or two shapes.
Step 5: Match Shapes to Jewelry Types and Settings
Different jewelry types suit different shapes, and the setting you choose changes both how a shape looks and how it wears. Most styling guides skip this; it's where mixed-shape designs succeed or fail in daily use.
By jewelry type
Rings: Favor rounded or flat-backed shapes, round, oval, cushion, and flat rondelles, because they sit close to the finger and resist catching on fabric. Pointed shapes like marquise and pear work in rings only when the points are protected by the setting.
Earrings: Mirror shapes on each ear. Two marquise drops, two pear drops, or a round stud paired with a small briolette drop all read as intentional. Avoid mixing a heavy shape on one ear with a light shape on the other; the mismatch is visible from the front.
Pendants: This is where you can carry the most visual drama. A large briolette or marquise as the focal point, with smaller rounds or rondelles above it on the bail, keeps the eye moving downward instead of sideways.
Bracelets: Repetition beats variety here. Pick one or two shapes and repeat them around the wrist; a bracelet with four different shapes looks scattered because the eye can't find a pattern. Round amethyst stone beads are an easy repeating shape to combine with others.
Necklaces: Alternate shapes along the strand, briolette, round, briolette, rondelle, so the piece has rhythm. Keep the smallest beads near the clasp where they won't compete with the focal point.
How settings affect mixed-shape designs
Prong settings show more of the stone but leave points exposed. A marquise or pear in a prong setting needs the tips covered by a V-prong or a bezel at the points, or it will snag on sweaters and scarves.
Bezel settings wrap the stone's edge in metal, which protects pointed shapes and flat-backed stones. The trade-off is that a bezel hides part of the stone's outline, so a bezel-set marquise reads slightly smaller than a prong-set one of the same size.
Briolettes need room to hang freely. A closed setting or tight wire wrap kills the movement that makes a briolette worth using. Leave at least a small gap above the drill hole so the stone can swing.
Rondelles sit flat and steady, which makes them good spacers between heavier shapes. Use them to separate a marquise from a briolette so the two pointed shapes don't fight.
Wearability checks before you commit
Run a finger along the finished piece. If a point catches, the setting needs a fix. For rings and bracelets, wear the piece for an hour before finalizing, comfort problems show up fast. And if you're unsure how a stone will be held, ask your jeweler to show you the setting with the stone seated before you commit.
Watch Out Pointed shapes in prong settings are the most common snag risk in mixed-shape jewelry. If the piece will be worn daily, budget for a bezel or V-prong at every point.
Common Mistakes to Avoid When Mixing Gemstone Shapes
Most problems come from a few habits:
Too many shapes at once: Stick to two or three shape types per piece
Ignoring size: Oversized beads next to tiny ones look unbalanced
Skipping the test layout: Always lay out beads before wiring
Mismatched colors without a plan: Random color choices look messy
Forgetting wearability: Long points can snag on clothing
A quick fix for most of these: take a photo of your layout. The camera shows balance problems your eyes may miss.
Your Next Step: Source Matching Briolette, Rondelle, and Marquise Beads
Once you know which shapes you want, the next step is finding beads that match in size and color.
Pricing depends on quantity, dates, and delivery, so check HietalaJewelry's website for current prices or a quote.
Browse our full selection to find briolette, rondelle, and marquise stones for your next design. Free delivery applies within the USA.
Frequently Asked Questions
How do you mix different gemstone shapes in jewelry?
Start with one focal stone, such as a marquise or briolette, and choose supporting shapes that are smaller or lighter in visual weight. Rondelles work well as spacers between larger stones because their flat, disc-like profile keeps the piece from looking crowded. Lay the beads out on a bench before stringing or setting, and adjust until the eye moves naturally from the focal stone to the supporting pieces. Keeping one repeated element, such as the same metal tone or a shared color family, ties mixed shapes together.
Which gemstone shapes look good together?
Briolettes, which are teardrop-shaped, pair well with marquise stones because both have pointed ends that echo each other and create flow. Rondelles, which are rounded disc shapes, balance angular marquise or briolette cuts by softening the transition between stones. Mixing one pointed shape with one rounded shape usually produces the most harmonious result. Limit a single piece to three shapes so the design stays intentional rather than busy.
How do you combine gemstone shapes without making a design look busy?
Limit the number of shapes to two or three per piece and repeat each shape at least twice so it reads as a deliberate pattern. Use a consistent bead size or a clear size progression, with the largest stone at the center or focal point. Keep color palettes restrained, using two to three related tones. Leave some open space between clusters so the eye has a place to rest, especially in necklaces with several different shapes.
How do you choose bead sizes for a mixed-shape necklace?
Choose a focal stone first, then size supporting beads so they are noticeably smaller, typically about one-half to two-thirds of the focal stone's width. Keep sizes graduated from the center outward so the necklace drapes evenly. Test the layout on a bead board or with temporary string before finalizing, since a shape that looks balanced flat can appear heavy once worn. Consistent sizing within each shape family helps keep production repeatable for commercial lines.
Comments